The Metal Injection Molding Process Consists of the Following Steps :

1. Feedstock Preparation
The MIM process starts with the feedstock preparation process. Formulation of feedstock from appropriate metal powders and thermoplastic binder.
The binder is only an intermediate processing aid and must be removed from the products after molding process. The properties of the powder determine the final properties of the Metal Injection Molded product.
2. Injection Molding
Molding of feedstock into tooling that is designed for the final part and includes dilation of the size in anticipation of sintering shrinkage. The actual parameters of injection have to optimize based on the feedstock, part geometry and dimensional control needed.
Once Molding is complete,The molded part known as “Green Part”.Green part size aprroximatly 20% larger to allow for shrinkage during the final sintering phase. The srinkage percentage is different for each raw material grade.


3. Debinding
Through this process binders are removed from the green part. The state of the art Catalytic Debinding system resulting in less cycle time for debinding process with strict safety standards.
Once debinding is complete, the component is known as “Brown Part”. After debinding process ,the part is now semiporous and the remaningg binder easily leaches out during sintering process.
4. Sintering
Sintering process generates in high temperature controlled environment for metal particles to weld together and provide the necessary strength for the finished product. To prevent oxidation and to protect the metal, the process is usually carried out in a vacuum or a controlled atmosphere at a temperature close to the melting point of the metal. Since the brown part is very porous, a large shrinkage occurs during sintering. This shrinkage has to be controlled strictly, and the mold cavity size has to be planned accordingly during the design stage.

Advantage of MDM-MIM
- Superior Quality and Highly complex parts
- Small and Precise Components
- Consistency and Repeatability
- High Production Volume with Short Lead time
- Excellent mechanical properties
- Lower overall product cost
- Tailored solutions using unique materials
Criteria For MIM
- Component Weight: 0.1 - 100 gm
- Dimensional Range: 1-100 mm
- Wall Thickness: 0.025- 15 mm
- Tolerance: 0.2-1.0%
- Production Quantity: >1000
- Surface Finish: 0.3 microns
- Percent Theoretical Strength : 95-100 %
- Percent Theoretical Density: 95-100%

Material Range
-
Stainless and Heat Resistance Steel
17-4PH, 304L, 310N, 316L, 420, Ni-Free Austenitic SS -
Low Alloy Steel
42CrMo4, 100Cr6, 4340, ASTM MIM-4605, AISI/SAE 8620, ASI 8740, AISI 1010, FN02, FN08, FN0205 -
Soft Magnetic Iron-Silicon Alloy
FeSi3

After Process Capability
- Heat Treatment (Hardening, Surface Carburization, Hot Isostatic Pressing)
- Surface Finishing (Sandblasting, Grinding, Polishing, Lapping)
- Coating (Thin Film Technology, Electroplating, Varnishing)
- Joining (Laser welding, Soldering, Assembling)
- Machining (Turning, Milling, Drilling, Grinding, Rubbing, Honing, Tapping)
- Shaping (Plastic Deformation, Calibration)

Quality Control
Quality first is our motto.
To provide high-quality and competitive global standard parts to customers for diversified industries, we adopted a strict quality control management system with ISO 9001:2015 certification from the Accreditation Institute for Assessment Body Europe.
Our facility is equipped with world-standard and NABL certified high-accuracy testing equipment such as,
- Digital Hardness Tester
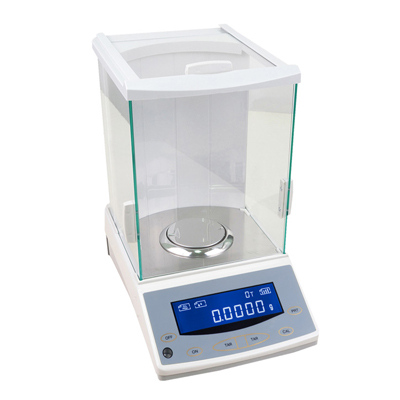
- Precise Weighing Balance with density measurement
- Metallurgical Microscope
- Spectrometer
- Digital Surface Roughness Tester
- Vision Measuring Machine (VMM)
- Tensile Strength Tester


